Quick Start
Setup
- Click the button.

- When starting MorndayUI for the first time, you need to Download Models first.
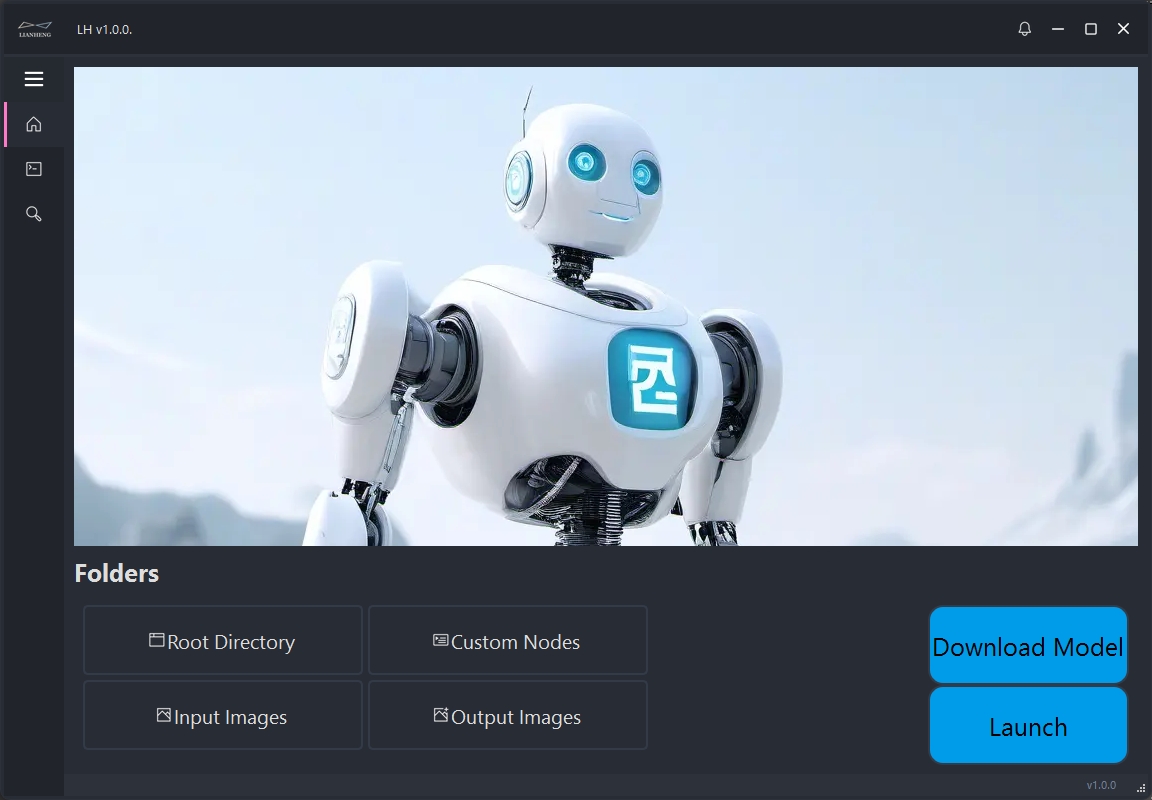
- Click “Lauch” to start MorndayUI.
Generate
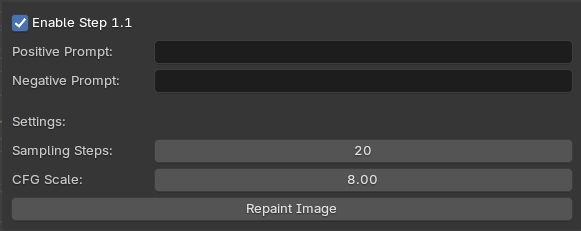
Input Image – generate image
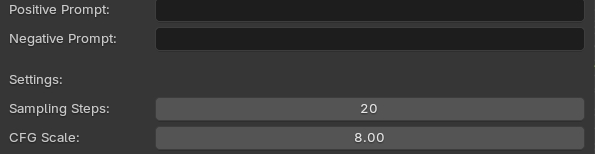
- Prompt
- Prompt
Enter descriptive text for the image you want to generate.
- Negative Prompt
Specify elements you want to avoid in the generated image.
- Prompt
- Settings
- Sampling Steps
Define the number of steps for refining the image. Higher values result in better quality but increase generation time. - CFG Scale
Adjust the strength of the prompt’s influence.
- Sampling Steps
Input Image – local Image
- Select your image path.

Input Image – render Image
- Select a mesh object.
- Click “Render Image“.

(Optional) Repaint Image
- Enable the repaint image option.
- Select the image you prefer from Step 1.
- Configure Prompts and Settings for Repaint Image as per the instructions in 1.Prompt and 2. Settings.
- Click “Repaint Image” button.
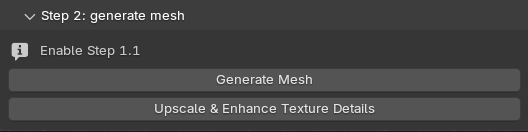
Generate Mesh
- choose your preferred image from Step1(or Step1.1 if Step1.1 is enabled).
- Click “Generate Mesh” button to begin the mesh generation process.
- Upscale & Enhance Image Detail
Click the “Upscale & Enhance Image Details” button to upscale the texture to 4k resolution.
Tips: If you want to sculpt the model, it is recommended to merge the vertices first.
- Select the model
- Enter edit mode
- Select all vertices
- Right click ->Merge Vertices->by Distance
Export
- Choose the model you wish to export.
- Export as FBX
If you want to export the model as an FBX file, click “Export FBX”. - Export as GLB/GLTF
If you want to export the model as a GLB or GLTF file, click “Export GLB/GLTF”.

Stop ComfyUI
- Method 1: In the LH v1.0.0 interface, click “Terminate”.
- Method 2: Click the button to stop the ComfyUI service in blender.