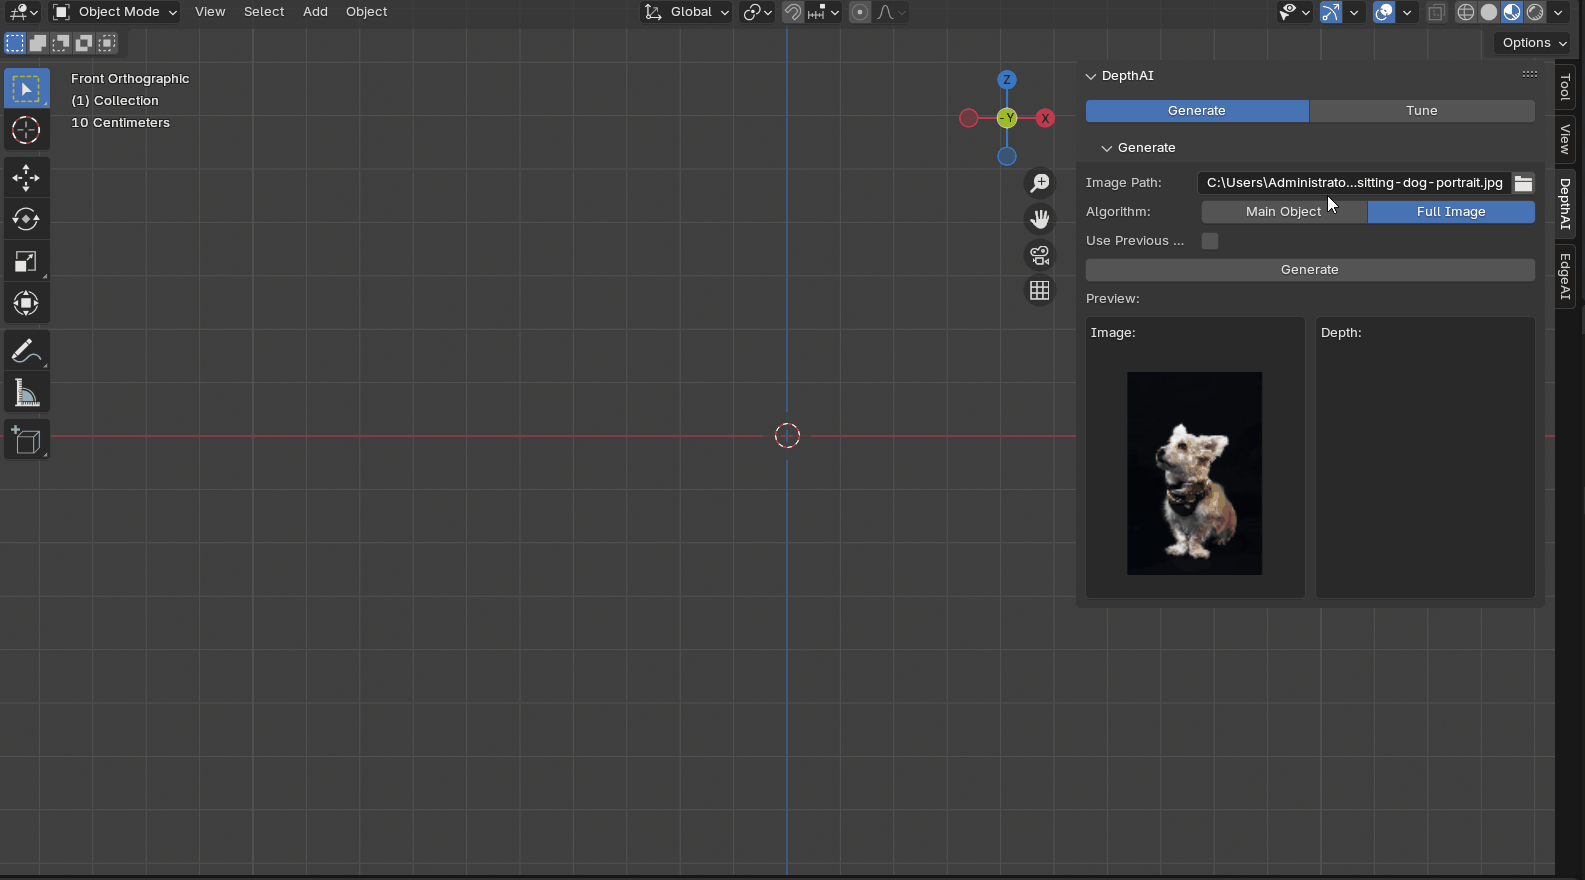
To start using Depth AI, follow the steps below:
Generate
- Select the image path, and your image will be displayed below.
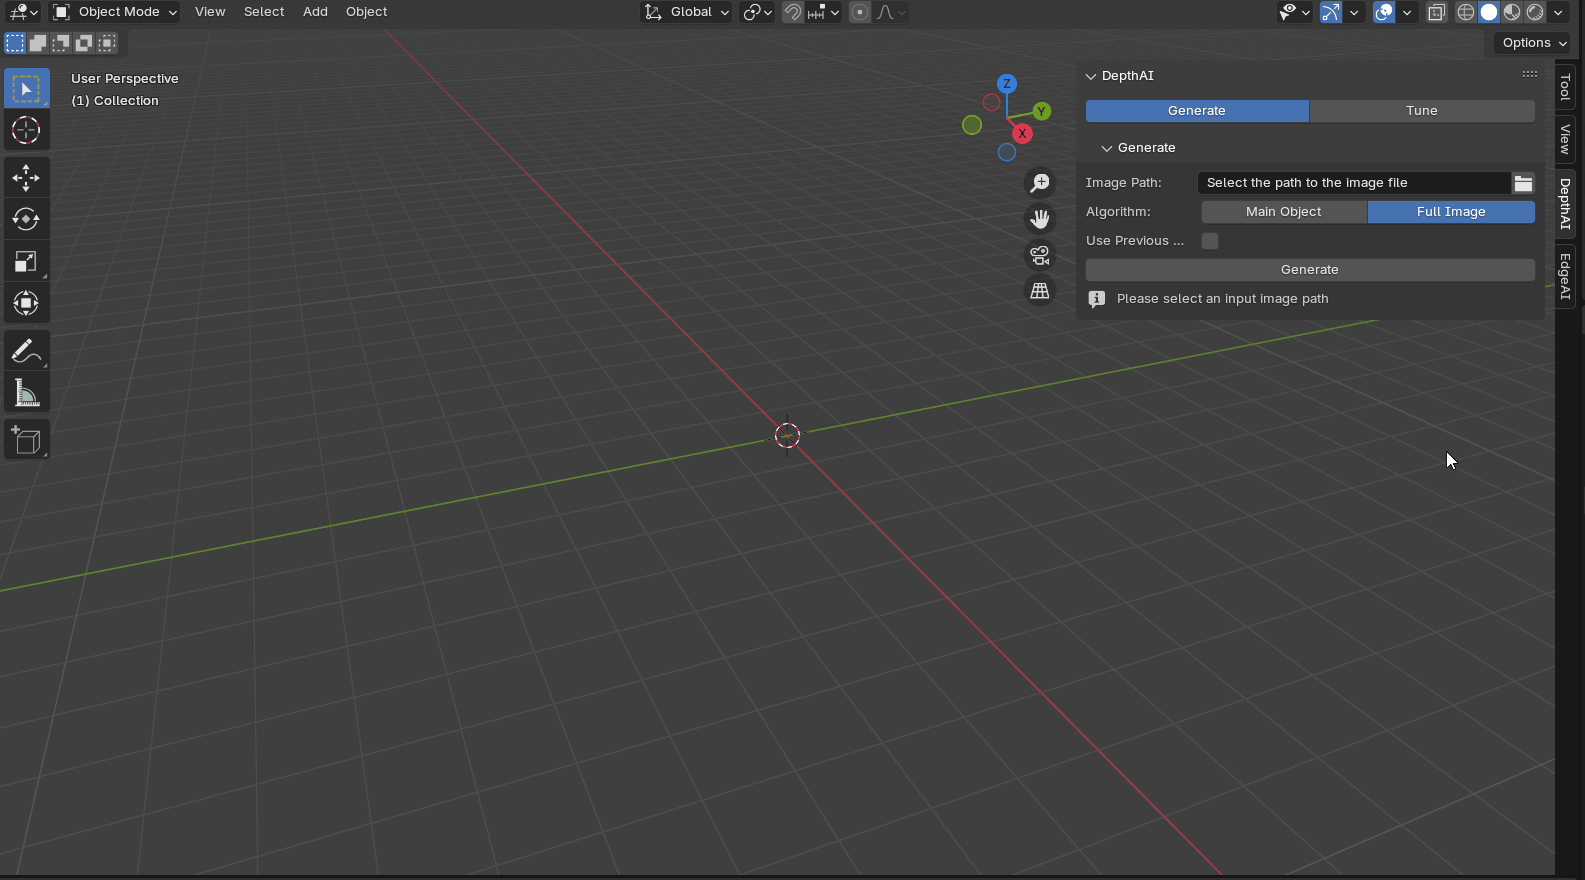
- Choose the algorithm as “
Full Image”. - Use Previous Depth: Select a saved depth map generate shapes quickly.
- Click on “Generate” to start the process. The resulting depth image will be displayed in the preview area on the right.
- Switch to Material Preview Mode to view the recognition results.
- Click the “Save Depth” button to save the depth image for future use.
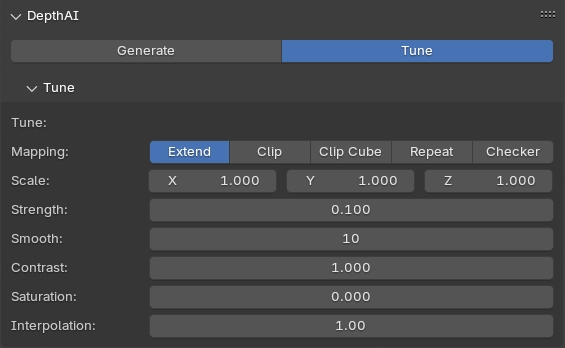
Tune
Mapping: Select the mapping type, which includes - Extend
- Clip
- Clip Cube
- Repeat
- Checker
- Scale:
- Adjust the scaling factors for the X, Y, and Z directions individually.
Strength: - Adjust the depth strength
- higher values result in a more pronounced depth
Smooth: - Use the slider to adjust the smoothness of the edges.
Contrast: - Adjust the contrast of the generated model.
Interpolation: - Set the interpolation size for the depth map to smooth out changes.
Saturation: - Adjust the saturation of colors in the texture, higher values result in more vibrant and intense colors.